
PDF Tutorial Part 1
Step 1:
Getting and Installing PDF Creator
Getting and Installing PDF Creator
This 2 part tutorial will guide you through the installation of PDF Creator, an open source PDF printer. Then we will do a simple output using our new PDF Printer. If you feel comfortable installing software then proceed on to the next page PDF Tutorial - Part 2. When installing be sure to give your PDF Printer a unique name or use the default name.
First you must download the PDF Creator software. You can download the software from here: PDF Creator.
Once you've downloaded the the software it's time to install. Open the installer by double clicking the newly downloaded file.
1-A
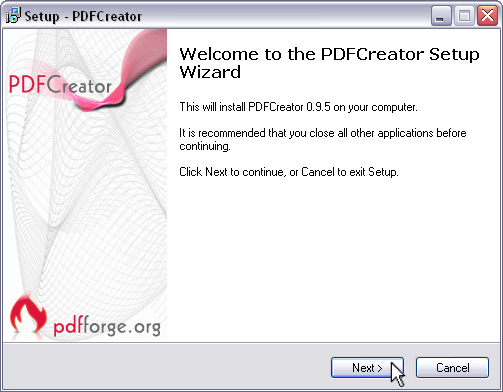
After opening the PDF creator installer you should get a window just like this.
Click "Next" to continue.
1-B
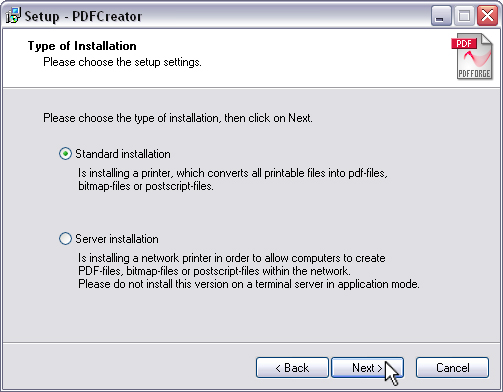
After accepting the agreement you should come upon this window choose "Standard" and
Click "Next" to continue.
1-C
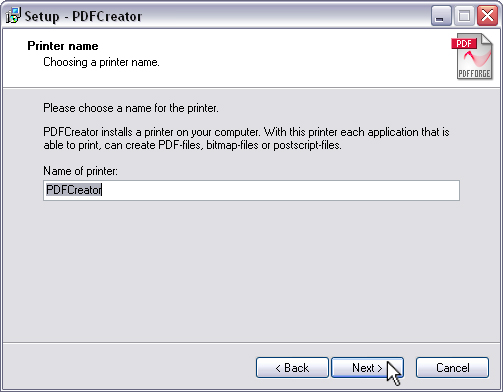
In this window we will name the PDF Printer. For the purpose of this tutorial just leave the default name.
Click "Next" to Continue
1-D
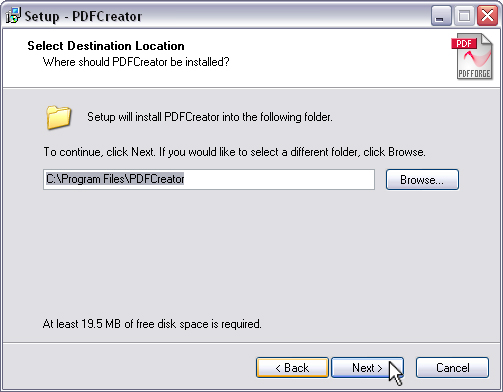
Use the default install location. Click "Next" to continue.
1-E
The next window will ask you if you want to add the toolbar. Click "Next".
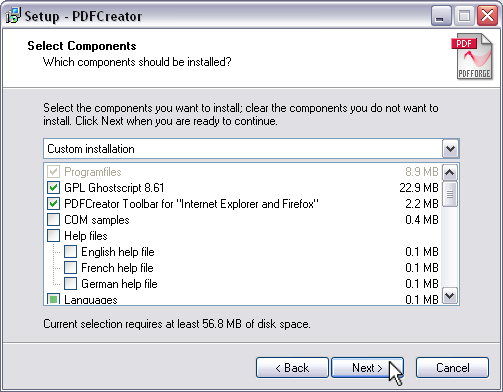
It will bring up this window. Your window may look slightly different.
Just make sure that "Programfiles" and "GPL Ghostscript" are selected.
You can choose anything else you'd like to install. If your not sure what else to check
then just click "Next" to continue.
1-F
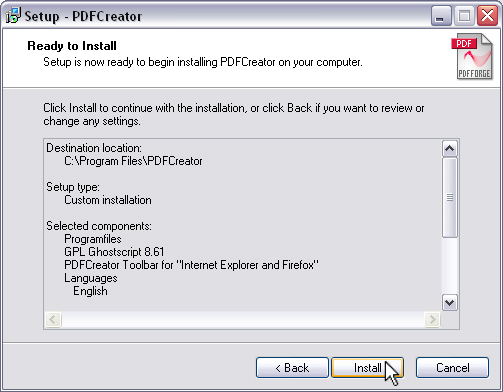
Click "Next" through the next 2 windows. Stop when you reach this window.
Click "Install" to complete the installation Process.
When the installation is complete you will get one final window.
Click "Finish" to complete the setup.
Part 2 will show you how to use your new PDF printer. Follow the link below "PDF Tutorial - Part 2" to continue.

We are committed to environmentally responsible printing practices that allow us to reduce waste and prevent pollution throughout the entire printing process!
For more information, see our Eco-Printing link under the About Us tab.